Introduction
Drawing butterflies can be a delightful and rewarding artistic endeavor. Whether you’re a seasoned artist or just starting, learning to draw these beautiful insects can enhance your skills and bring joy to your creative process. drawing:g0stygfoby4= butterfly are not only aesthetically pleasing but also symbolize transformation and beauty in many cultures. So, why not bring a little bit of that magic onto your sketchpad?
Materials Needed
Before we dive into the process, let’s gather the essentials. Here’s what you’ll need:
- Basic Drawing Supplies: Pencils (HB, 2B, 4B), erasers, and paper.
- Specialized Tools for Detail: Fine-tipped pens, colored pencils, and a good quality sharpener.
Understanding Butterfly Anatomy
To draw a butterfly accurately, you must understand its anatomy. Butterflies have three main body parts: the head, thorax, and abdomen. Their wings, often the highlight of any drawing, are equally divided into forewings and hindwings, adorned with intricate patterns.
Head, Thorax, and Abdomen
The head houses the antennae and compound eyes. The thorax is where the legs and wings attach, while the abdomen contains the digestive and reproductive systems. Each segment is crucial for a realistic depiction.
Wings and Patterns
Butterfly wings are symmetrical, each side mirroring the other. The patterns on the wings can be complex, with spots, lines, and a variety of colors. Studying these details will help in creating a lifelike drawing.
Choosing Your Butterfly Species
Different butterfly species offer unique challenges and opportunities for artists. Here are a few popular choices:
Common Butterfly Species to Draw
- Monarch Butterfly: Known for its striking orange and black pattern.
- Swallowtail Butterfly: Features elegant, extended tail-like wings.
- Blue Morpho: Famous for its vibrant blue wings.
Unique Characteristics of Each Species
Each species has distinct markings and colors. Understanding these can help you choose which butterfly to draw and how to capture its essence accurately.
Setting Up Your Workspace
A well-organized workspace can significantly improve your drawing experience. Here’s what to consider:
Ideal Drawing Environment
Choose a quiet, well-lit area. Natural light is ideal, but a good desk lamp can suffice.
Organizing Your Materials
Keep your pencils, erasers, and other tools within easy reach. A clutter-free space helps maintain focus and creativity.
Basic Drawing Techniques
Let’s start with some fundamental techniques that will form the foundation of your drawing:g0stygfoby4= butterfly.
Sketching Basic Shapes
Begin with simple shapes. Draw an oval for the body and use circles or ovals for the head and thorax. Lightly sketch the outline of the wings, ensuring symmetry.
Adding Details Gradually
Once the basic shapes are in place, start refining your sketch. Add details like the eyes, antennae, and leg segments.
Drawing the Butterfly’s Body
Now, let’s dive deeper into drawing the butterfly’s body.
Sketching the Head
Draw the head as a small circle, adding the antennae and compound eyes. Pay attention to the size and placement to maintain proportions.
Detailing the Thorax and Abdomen
Sketch the thorax as an oval and the abdomen as a tapered shape extending from it. Add segments to the abdomen and texture to the thorax for realism.
Drawing the Butterfly’s Wings
The wings are the most captivating part of a butterfly. Here’s how to get them right.
Outlining the Wing Shape
Start with the forewings, drawing them as elongated ovals with pointed tips. The hindwings are more rounded. Ensure both sides are symmetrical.
Creating Symmetry
To achieve perfect symmetry, you can fold your paper and sketch half of the butterfly, then trace the other half. Alternatively, use a lightbox or mirror the drawing digitally.
Adding Wing Patterns and Textures
Butterfly wings are adorned with beautiful patterns. Here’s how to capture them:
Common Patterns in Butterfly Wings
Look at reference images to understand common patterns like spots, lines, and gradients. Sketch these lightly before committing to pen or darker pencil lines.
Techniques for Texturing
Use hatching, cross-hatching, and stippling to add texture to the wings. These techniques help create depth and realism.
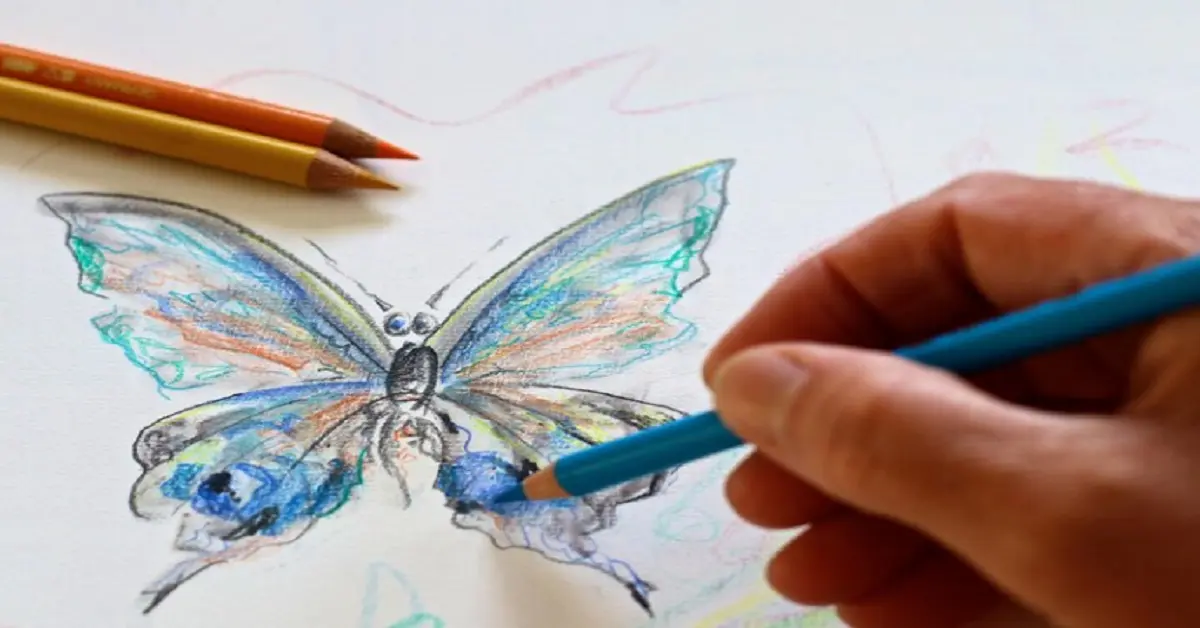
Incorporating Color
Color brings your butterfly to life. Here’s how to do it effectively:
Choosing the Right Colors
Select colors based on the butterfly species you’re drawing. Colored pencils are great for their precision and layering ability.
Techniques for Coloring Wings
Start with light layers of color, gradually building up to the desired intensity. Blend colors smoothly to avoid harsh lines.
Shading and Highlighting
Shading and highlighting add dimension and realism to your drawing.
Basics of Shading
Determine your light source and add shadows accordingly. Use a soft pencil for subtle shading and blend with a tissue or blending stump.
Adding Depth with Highlights
Leave areas of the wings lighter to indicate highlights. This contrast between light and dark areas gives your butterfly a three-dimensional appearance.
Refining Your Drawing
With the major elements in place, it’s time to refine your work.
Erasing Unnecessary Lines
Carefully erase any guidelines or unnecessary marks. A clean drawing makes the final piece more polished.
Enhancing Details
Go over your drawing, enhancing lines and adding any final details. Fine-tipped pens can help define edges and intricate patterns.
Common Mistakes and How to Avoid Them
Even experienced artists make mistakes. Here’s how to avoid common pitfalls:
Symmetry Issues
Double-check your symmetry frequently. Small discrepancies can throw off the whole drawing.
Incorrect Proportions
Measure and compare the different parts of the drawing:g0stygfoby4= butterfly regularly. This practice helps maintain correct proportions.
Advanced Techniques
Ready to take your drawing to the next level? Try these advanced techniques:
Creating Realistic Textures
Experiment with different textures on the wings and body. Realistic textures can make your drawing:g0stygfoby4= butterfly look more lifelike.
Adding Background Elements
Consider adding flowers, leaves, or other elements to your drawing. A simple background can enhance the overall composition.
Conclusion
Drawing:g0stygfoby4= butterfly can be a rewarding and therapeutic experience. By following these steps, you can create a beautiful and realistic butterfly drawing. Remember, practice is key. Each butterfly you draw will improve your skills and confidence. So, grab your pencils and start sketching!
7 thoughts on “Drawing: The Art of Creating a Beautiful Butterfly”
Comments are closed.