Introduction
Drawing an owl can be a fun and rewarding experience. drawing:fynrxxfddq4= owl are fascinating creatures with their expressive eyes and intricate feather patterns. Whether you’re a beginner or an experienced artist, learning to draw an owl step-by-step can help you improve your skills and create a stunning piece of art.
Materials You Will Need
Before we start, let’s gather the materials you’ll need. For a basic owl drawing, you’ll need:
- Pencils (HB, 2B, 4B)
- Eraser
- Sharpener
- Drawing paper
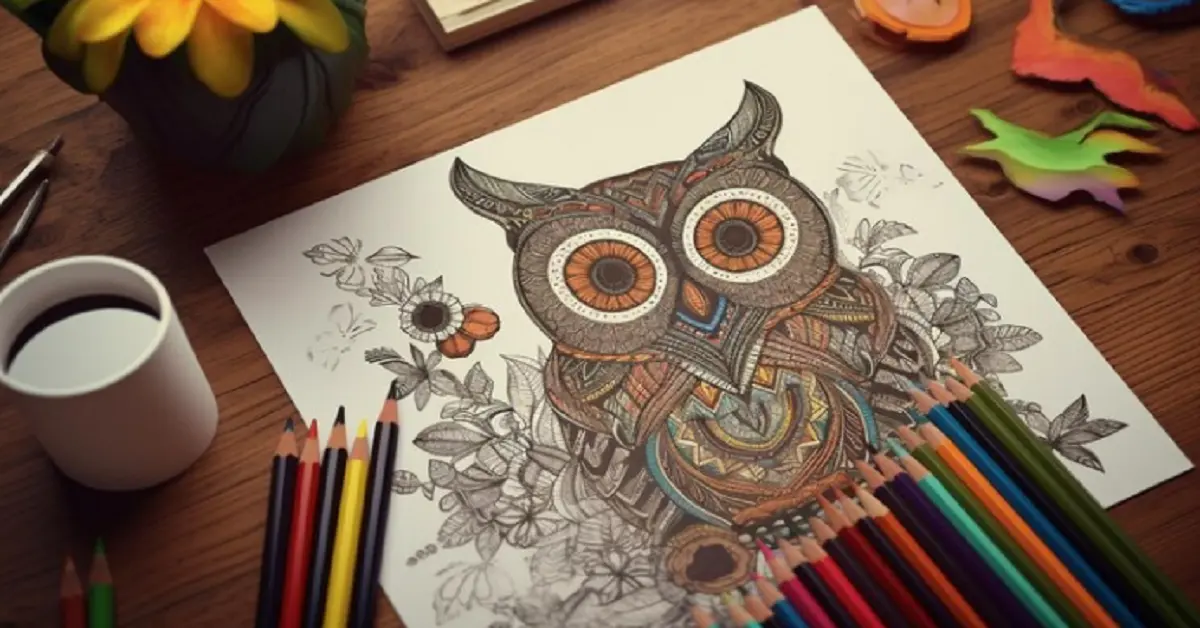
Optional materials for adding color and detail include colored pencils, markers, and fine-tipped pens.
Understanding Owl Anatomy
Understanding the basic anatomy of an owl is crucial for creating a realistic drawing. Owls have a distinctive body structure, with a large head, rounded body, and sharp talons. Key features to focus on include the large, expressive eyes, the curved beak, and the detailed feathers.
Drawing the Owl’s Head
Start by sketching a circle for the head. This will be your guideline for the shape and size of the owl’s head. Next, draw a vertical line down the center of the circle and a horizontal line across the middle. These lines will help you place the facial features accurately.
Creating Expressive Owl Eyes
The eyes are the most captivating feature of an owl. Draw two large circles on either side of the vertical line, just above the horizontal line. Make sure they are evenly spaced and of equal size. Add smaller circles inside these for the pupils, and shade them in, leaving a tiny white spot for the reflection.
Drawing the Beak
Between the eyes, draw a small, curved triangle for the beak. The point of the triangle should face downward. Add a few lines to give the beak some texture and depth.
Sketching the Owl’s Body
Drawing:fynrxxfddq4= owl shape below the head for the body. Connect the head to the body with smooth lines. The body should be slightly larger than the head to give the owl a balanced look.
Adding Wings and Tail
Sketch two wing shapes on either side of the body. The wings should be slightly curved and extend to the sides. For the tail, draw a series of small, overlapping feathers at the bottom of the body.
Drawing Talons and Feet
Draw the owl’s feet and talons at the bottom of the body. Each foot should have three toes facing forward and one facing backward. Add claws at the tips of the toes and texture to give them a realistic look.
Creating Feather Details
Feathers can be tricky, but with some patience, you can add beautiful details to your owl. Start by drawing small, curved lines to represent the feathers. Layer these lines to create a textured look. Pay special attention to the feathers around the eyes and on the wings.
Shading and Texturing Your Drawing
Shading adds depth and realism to your drawing:fynrxxfddq4= owl. Use a 2B pencil to add shadows to the areas where light wouldn’t hit directly. Blend the shading with a tissue or blending stump for a smooth transition. Add texture by using quick, light strokes to mimic the look of feathers.
Background Elements
A simple background can enhance your drawing. You can add a branch for the owl to perch on or a night sky with stars and a moon. For more complex scenes, consider adding other animals or a forest background.
Coloring Your Owl
If you’re adding color, choose a palette that complements the natural colors of an drawing:fynrxxfddq4= owl. Browns, grays, and whites work well. Use colored pencils or markers to blend and shade the colors, creating a smooth transition between light and dark areas.
Advanced Techniques and Tips
For those looking to take their drawing:fynrxxfddq4= owl to the next level, consider experimenting with different styles and techniques. Try using watercolors for a softer look or ink for bold, dramatic lines. Adding more detail to the feathers and background can also enhance the overall look of your drawing.
Conclusion
Drawing:fynrxxfddq4= owl can be a rewarding experience that helps you improve your artistic skills. By following these step-by-step instructions, you can create a beautiful and realistic owl drawing. Remember to keep practicing and experimenting with different techniques to develop your own unique style.